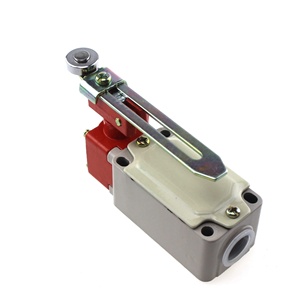
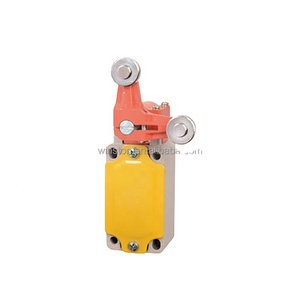
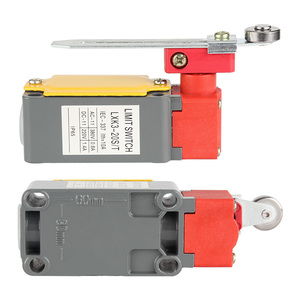
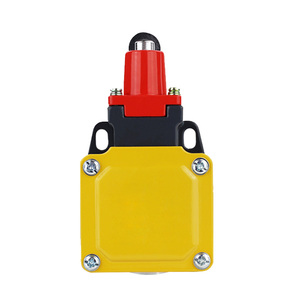
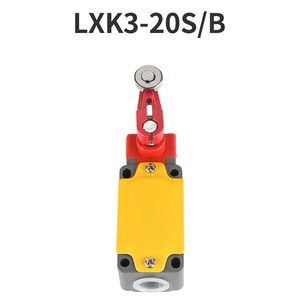
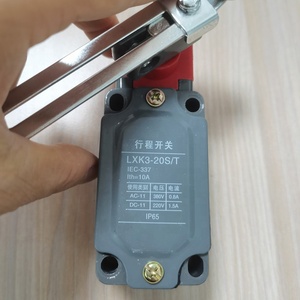
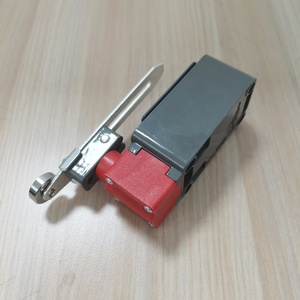
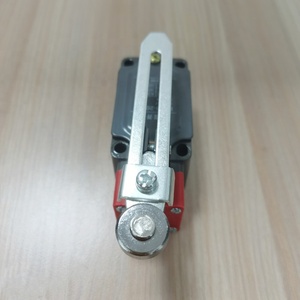
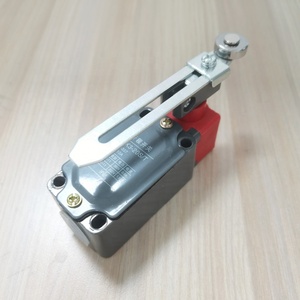
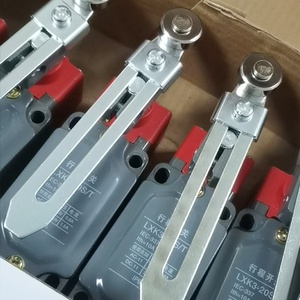
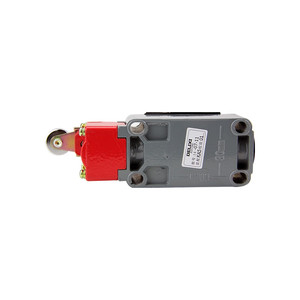
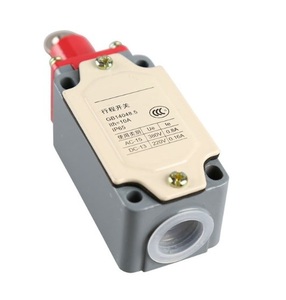
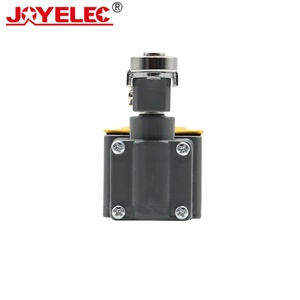
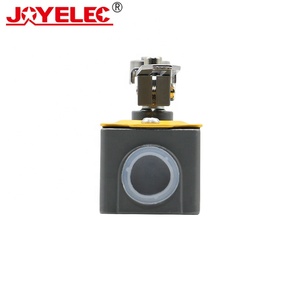
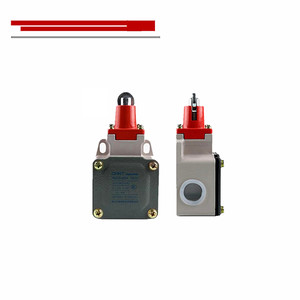
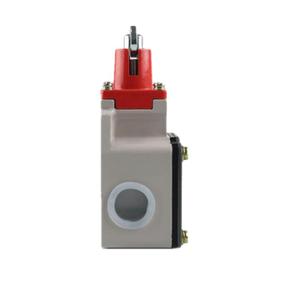
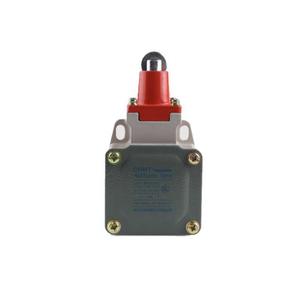
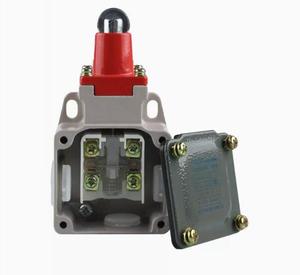
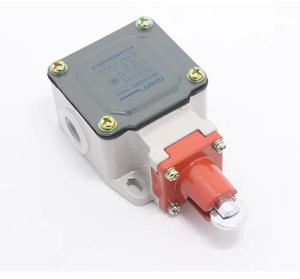
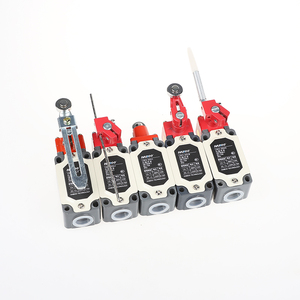
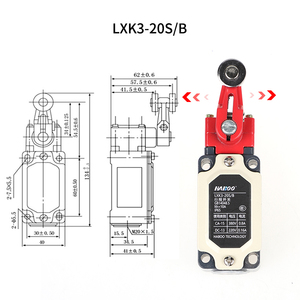
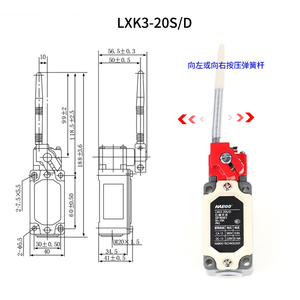
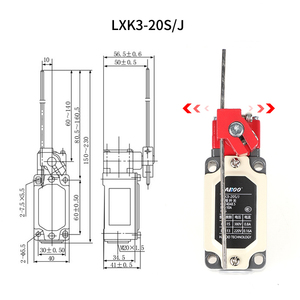
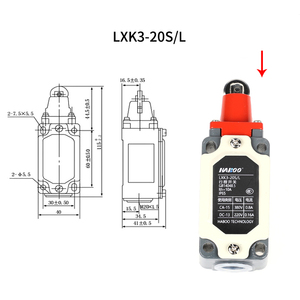
Types of Switch LXK3
-
Switch LXK3 12-Station:
The 12-station LXK3 switch is the most fundamental model. It has a single row of up to 12 push-button controls. It is perfect for basic applications that require simple control or signaling. Users can customize the buttons with various labels or icons to indicate their specific functions. This model is often used in smaller control panels or environments where space is limited. Despite its simplicity, it provides reliable performance for essential tasks.
-
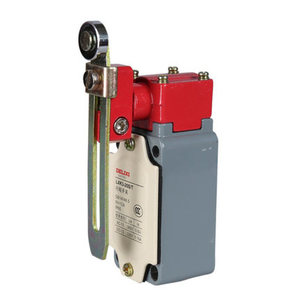
Switch LXK3 18-Station:
The 18-station LXK3 switch expands to a layout with up to 18 buttons arranged in two rows. This configuration allows for more complex control schemes while maintaining a compact design. The 18-station switch is commonly used in applications such as audio mixing, lighting control, and industrial automation, where multiple functions need to be managed efficiently. Users can program the buttons for various tasks, including macros, presets, or specific commands, streamlining operations and enhancing productivity.
-
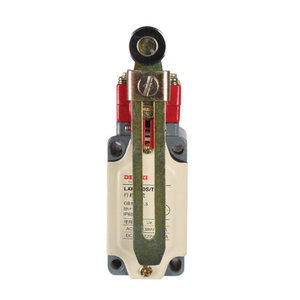
Switch LXK3 24-Station:
The 24-station LXK3 switch features a three-row layout with up to 24 buttons. This considerable increase in the number of stations provides extensive customization options and control capabilities. The 24-station switch is suitable for complex systems or applications that demand precise control over many parameters. It finds its place in fields like telecommunications, broadcasting, and advanced industrial processes. The buttons can be programmed with great flexibility, enabling intricate sequences, multiple command executions, and more, allowing operators to manage complex tasks with ease and precision.
-
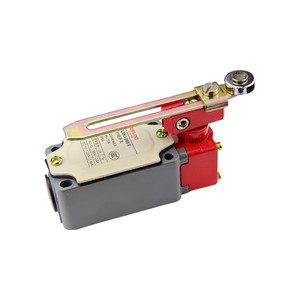
Switch LXK3 48-Station:
The 48-station LXK3 switch is one of the most advanced models, featuring an extensive array of up to 48 buttons. This immense capacity makes it suitable for the most demanding applications requiring extensive control and monitoring capabilities. The 48-station switch is commonly used in critical operations such as air traffic control, large-scale event management, and major industrial facilities. It provides a centralized interface for managing numerous functions, ensuring real-time control and oversight. The buttons can be programmed for sophisticated workflows, integrating with other systems and enabling customized solutions for specific operational needs.
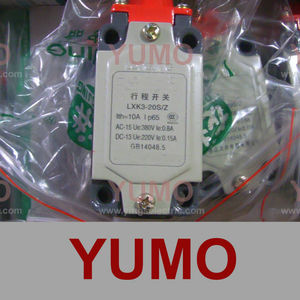
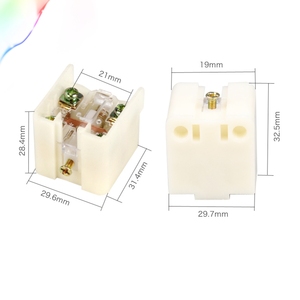
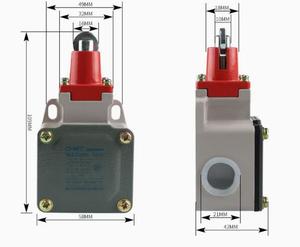
Specification & Maintenance of Switch LXK3
The Switch LXK3 is a vital component in electrical systems, and understanding its specifications is important for those working with it. Here's a rundown of what to expect:
- Voltage Rating: This is the maximum voltage the switch can handle without causing damage. Depending on the model, the LXK3 switch can have a voltage rating of 240V or 480V.
- Current Rating: This indicates how much electrical current the switch can carry. The LXK3 switch has a current rating that ranges from 10A to 100A. This means it can carry a current of 10 to 100 amperes without overheating or causing damage.
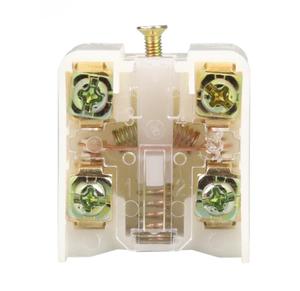
- Number of Poles: The number of poles on a switch determines how many circuits it can control simultaneously. The LXK3 switch typically has 1 to 4 poles, allowing it to control 1 to 4 separate circuits at the same time.
- Throw Type: The throw type of a switch determines the direction in which the handle moves to open or close the circuit. The LXK3 switch has a rotary or toggle throw type, making it easy to indicate the switch's position and making it easy to operate.
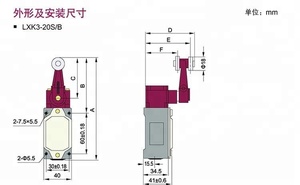
- Mounting Type: This specifies how the switch is mounted to a surface or panel. The LXK3 switch is generally surface-mounted or panel-mounted, providing flexibility in installation.
Maintaining the LXK3 switch is essential to ensure it operates effectively and safely. Here are some maintenance tips:
- Regular Inspection: Regularly inspect the LXK3 switch for visible wear and damage, such as cracks, rust, or corrosion. Also, check if there is any foreign material or dirt that may interfere with its operation.
- Cleaning: Clean the switch periodically to remove dust, dirt, and moisture. Use a dry cloth or soft brush. Do not use abrasive materials or liquids that can damage the switch's surface.
- Electrical Connections: Ensure that all electrical connections to and from the switch are tight and secure. Loose connections can cause arcing, overheating, and damage to the switch and connected equipment.
- Mechanical Operation: Ensure the switch operates smoothly and mechanically without any obstruction or resistance. If there is a problem, disassemble the switch and lubricate the moving parts as recommended by the manufacturer.
- Replacement of Damaged Components: If any component of the LXK3 switch is damaged or worn out, replace it immediately to ensure the switch operates effectively and safely.
- Follow the Manufacturer's Instructions: Always refer to the manufacturer's instructions for installation, operation, and maintenance procedures for the LXK3 switch. Each model may have specific requirements that need to be followed.
By following these maintenance tips, users can ensure that the LXK3 switch operates effectively, extends its lifespan, and prevents electrical and mechanical problems.
How to choose Switch LXK3
Picking the right LXK3 switch can be a daunting task. Here are some of the factors to consider when choosing the right LXK3 switch.
-
Switch Form Factor
Consider the size and layout of the keyboard or input device. Should it be compact or a traditional layout?
-
Actuation Force
Consider the force needed to press a key. Options vary from light, medium, or heavy actuation forces. This factor influences typing speed and accuracy.
-
Key Travel Distance
Consider the distance a key travels before it registers a press. Key travel distance affects tactile feedback.
-
Tactile Feedback
Consider the feedback received when a key is pressed. Options vary from noticeable, subtle, or no feedback. Feedback influences typing speed and precision.
-
Switching Speed
Consider the speed at which a key press is registered. This factor affects the overall responsiveness of the device.
-
Durability
Consider the lifespan of a switch, which is usually measured in millions of key presses. Durable switches reduce the need for replacement.
-
Noise Level
Consider how loud or quiet the switches are. This factor is essential in shared workspaces or quiet environments.
-
Customization Options
Consider if customizable switches are needed. Custom switches allow users to tailor the switch to their specific needs.
-
Application
Consider the primary use of the LXK3 switch. Different applications may require specific switch characteristics, such as gaming or programming.
-
Budget
Consider the price range of the LXK3 switches. Switches are available in various price ranges to suit different budgets.
How to DIY and Replace Switch LXK3
Replacing an LXK3 switch can be a straightforward process that can be done with a few basic tools. Here's a step-by-step guide:
-
Tools and Materials Needed:
Prepare the following tools before beginning the replacement process:
- Screwdriver set
- Voltage tester
- Wire strippers
- Electrical tape
- New LXK3 switch (compatible with the existing circuit)
-
Step 1: Power Off
To ensure safety, the power to the existing LXK3 switch should be turned off. This can be done by switching off the circuit breaker or the fuse connected to the switch circuit.
-
Step 2: Remove the Old Switch
Using a screwdriver, the screws holding the switch plate should be removed. Then, gently pry off the plate and use a voltage tester to confirm that there is no power in the wires connected to the switch. After that, the screws holding the switch in the electrical box should be removed, and the switch should be pulled out carefully.
-
Step 3: Take Note of the Wiring
Before disconnecting the wires from the old switch, a diagram should be created or a photo taken to remember how they are connected. This is important to ensure accurate reconnection with the new switch.
-
Step 4: Disconnect the Wires
The wires should be disconnected from the old switch. In case they are tightly connected, a screwdriver or pliers can be used to loosen them.
-
Step 5: Prepare the New Switch
The new LXK3 switch should be prepared for installation. If necessary, the wires should be stripped to ensure clean connections. Electrical tape should be used to insulate any exposed wire ends.
-
Step 6: Connect the Wires to the New Switch
Following the notes taken in Step 3, the wires should be connected to the new switch in the same configuration as they were connected to the old one. Ensure secure connections are made according to the manufacturer's instructions.
-
Step 7: Install the Switch
The switch should be carefully placed back into the electrical box, and its mounting screws should be tightened. The switch plate should be reinstalled with the screws.
-
Step 8: Power On
After completing the installation, the circuit breaker or fuse should be turned on to restore power to the switch. The switch should be tested to ensure it is functioning correctly.
Q and A
Q1: Can the LXK3 switch be used for gaming?
A1: Yes, the LXK3 switch can be used for gaming. However, its suitability for gaming depends on the specific type and brand of the LXK3 switch.
Q2: What is the difference between mechanical and membrane LXK3 switches?
A2: Mechanical LXK3 switches use individual mechanical switches for each key, offering a more responsive and tactile feel. Membrane LXK3 switches use a pressure pad system on a plastic membrane, which is cheaper but less tactile and durable than mechanical switches.
Q3: Are LXK3 switches suitable for programmers?
A3: Yes, LXK3 switches are suitable for programmers, especially if they are configured to be quiet and tactile, which is often preferred in programming environments.
Q4: Can LXK3 switches be customized for specific applications or preferences?
A4: Yes, LXK3 switches can be customized for specific applications or preferences, such as changing the key layout, programming key functions, or adjusting the switch actuation to match the user's needs.


 浙公网安备 33010002000092号
 浙B2-20120091-4