Types of controller odms
A controller odm is a device that connects to a motor, often in an electric bike, to control its functions, such as speed and torque. The device is also called an e-bike display. It is available in different types described below:
-
LCD/LED display controller odm
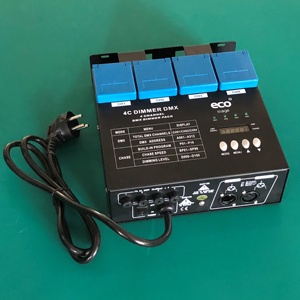
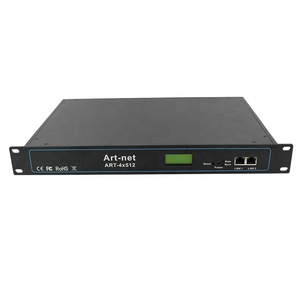
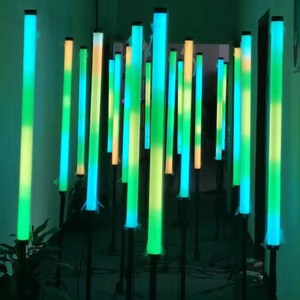
The LCD display controller odm has an LCD or LED screen. It shows vital information, including the battery level, speed, distance travelled, assistance level, and average speed. Users can control the motor using the buttons on the screen. In some advanced models, users can change the settings and choose which information to display. The LCD/LED display controller odm is popular among e-bike users because it has many features that improve the riding experience.
-
Handlebar-mounted controller odm
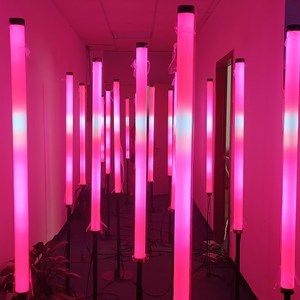
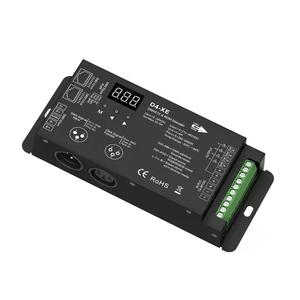
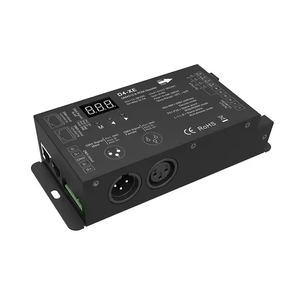
This is a common type of controller that can be mounted on the e-bike handlebar. It has a compact design and provides a comfortable grip. Users can easily control the motor using the buttons on the device. The handlebar-mounted controller odm features an LCD/LED screen that displays vital information, such as speed, battery level, and estimated distance. The device has a high-quality aluminum alloy frame that can withstand harsh conditions. This device is suitable for different bike models, including mountain, road, and city bikes.
-
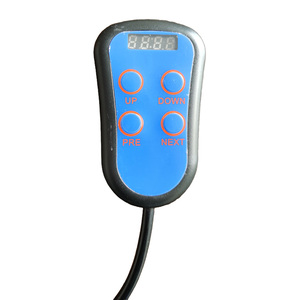
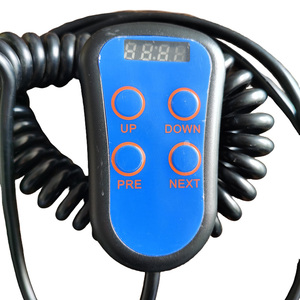
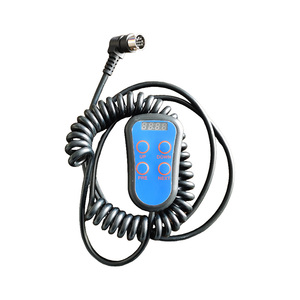
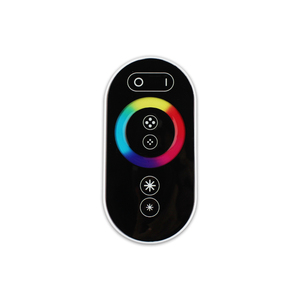
Remote controller odm
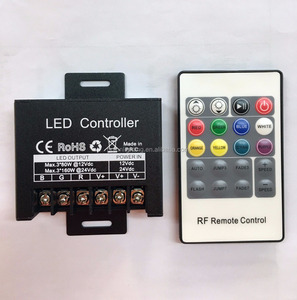
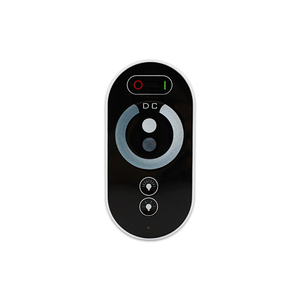
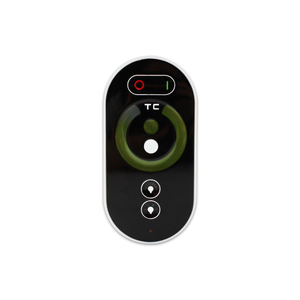
This controller odm is mounted on the e-bike handlebar. It is small and has a compact design. The remote controller has buttons that allow users to control the motor. For instance, they can increase or decrease the power level using the buttons. They can also turn the motor off or on. Some remote controllers have a small LCD screen that shows the battery level and speed. The remote controller is mostly found on high-end e-bikes.
How to choose controllers ODM
Choosing an electric controller ODM involves careful consideration of the specific requirements of the intended application, quality standards, and customization options. Here are some key factors to consider:
-
Application requirements
Every application has unique requirements regarding voltage, current, functionality, and environmental conditions. Clearly define the requirements for the controller, such as power capacity, control algorithms, communication protocols, and any specific industry standards that must be met. This will help determine which ODM manufacturers have the expertise and experience to design and produce controllers that meet those requirements.
-
Customization options
Consider the level of customization required for the controller. Some ODM manufacturers offer standard off-the-shelf controllers that can be easily integrated into applications. Others provide fully customized controllers tailored to specific needs. Determine which customization options are available, such as firmware development, hardware modifications, and branding opportunities, to ensure the controller can be tailored to meet the application's requirements.
-
Quality standards and certifications
Quality is critical when choosing a controller ODM. Ensure the manufacturer adheres to strict quality standards and has the necessary certifications for the controllers. Look for certifications such as ISO 9001, CE, RoHS, and other relevant industry standards. These certifications indicate the manufacturer's commitment to quality and compliance with safety and environmental regulations.
-
Technical support and collaboration
Consider the level of technical support and collaboration the manufacturer can provide. During the design and development phase, effective communication and collaboration between the manufacturer and the client are essential to ensure the controller meets the application's requirements. Look for manufacturers that offer technical support, design consultation, and timely communication to facilitate a smooth development process.
-
Cost and lead time
Evaluate the cost and lead time associated with the controller production. Consider the initial development costs, ongoing production costs, and any additional expenses for customization. Also, inquire about the estimated lead time for controller production to ensure it aligns with the project timeline and delivery requirements.
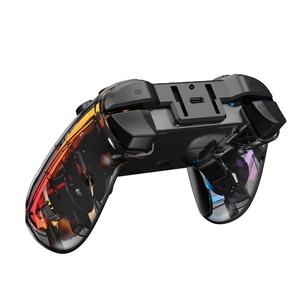
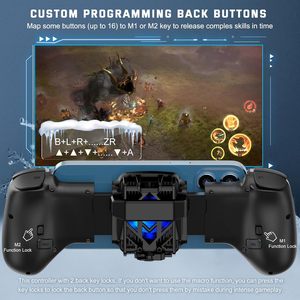
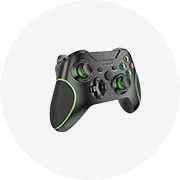
How to use, install, and product safety
How to use
- Ensure the controller has power and is correctly connected to the gaming device.
- Familiarize oneself with the controller's layout, including buttons, triggers, and joysticks.
- Grip the controller comfortably with both hands, resting thumbs on analog sticks and index fingers on triggers.
- Use the left joystick for character or vehicle movement and the right joystick for camera angles or aiming.
- Press buttons labeled A, B, X, Y (or equivalent) on the right side for actions like jumping, shooting, interacting.
- Keep an eye on the in-game display for objectives, missions, and story progression updates.
- Use the triggers for acceleration, braking, or shooting actions as required by the game.
- Take breaks when needed to rest hands and eyes from the screen.
Installation
- Check compatibility: Ensure the controller is compatible with the gaming system or device. Some controllers work with multiple devices, while others are specific to certain consoles or PCs.
- Connect wired controller: Plug the controller's USB cable into an available USB port on the gaming device. The device should automatically recognize it.
- Connect Bluetooth controller: Turn on the Bluetooth function on the gaming device. Press the pairing button on the controller until the LED light flashes. Wait for the device to find and pair with the controller. The connection will confirm with a solid LED light or sound.
- Install software: If using a PC, download any necessary controller drivers or software from the manufacturer's website. This allows the computer to map the controller's buttons to games.
- Charge the Controller: Fully charge the controller using the provided USB cable. A full charge is required for wireless use during gaming sessions.
- Set up controller settings: Access the controller settings menu on the gaming device or PC. Adjust preferences like button mapping, vibration intensity, and LED brightness.
Product safety
- Keep away from liquids: Controllers can be damaged by spills or moisture. Avoid using them near drinks, baths, or areas with high humidity.
- Check for frayed cables: Regularly inspect the controller's charging or connecting cable for any signs of wear, tear, or fraying. If the controller's cable is damaged, stop using it, as it may pose a risk of electric shock or further damage to the device.
- Adequate ventilation: Ensure the controller has proper ventilation during use and charging. Avoid covering it with blankets, pillows, or other objects that may block airflow.
- Safe gaming environment: Avoid using the controller in areas with potential hazards, such as stairs or crowded spaces, where it may be dropped and cause injury to the user or damage to the controller.
- Handle with care: Avoid dropping the controller from a height, as it can cause internal damage or misalignment to the components that affect functionality.
Functions, features and design of controllers ODMs
Aesthetic medicine equipment controllers ODMs have many essential functions and features that ensure quality care and service delivery. Below are some of them:
-
Interface and Navigation
The interface and navigation allow for convenient operation and treatment settings. This includes an easy-to-read LCD or LED screen displays and user-friendly buttons or touchscreen controls.
-
Customization Options
It has many customization options that allow different settings and programs for various treatments. This includes adjustable parameters, preset treatment protocols, and options for patient data input.
-
Safety Features
Safety features ensure patient and operator protection. This includes alarm systems, automatic shut-off functions, and lockout mechanisms for certain settings.
-
Data Management
Data management helps track treatment sessions and monitor progress. This includes storing treatment history, patient records, and statistical data.
-
Connectivity and Integration
The connectivity and integration ensure seamless communication between the controller and the medical device or system. This includes wired or wireless connectivity options and compatibility with other equipment or software.
-
Quality and Durability
Aesthetic medicine equipment controllers ODMs are made of quality and durable materials. This ensures long-lasting performance and withstands the demands of clinical use.
-
Technical Support and Updates
It is vital to have technical support and updates from the manufacturer. This ensures assistance in case of any issues and access to software updates and improvements over time.
Q&A
Q1. What is the purpose of a controller?
A1. The controller's primary purpose is to ensure that the equipment receives the correct signals and information. It acts as a mediator between the sensors and the motors, interpreting data from sensors and adjusting motor actions to achieve desired movements or positions accurately.
Q2. What are the types of controllers?
A2. There are five main types of controllers, which include:
- Proportional controller (P): These controllers utilize a constant ratio that directly correlates to the error between the setpoint and the process variable. The proportional controller provides a control output that is proportional to the error. The proportional controller's output can be calculated using the equation: Output = Kp x e(t), where Kp is the proportional gain and e(t) is the error at time t.
- Integral controller (I): An integral controller's primary purpose is to eliminate the steady-state error at a setpoint. The controller continuously sums the error over time and applies a correction factor that is not based on the current error. The output can be calculated using the equation: Output = Ki x t + e(t), where Ki is the integral gain.
- Derivative controller (D): A derivative controller predicts system behavior and acts on a rate of change. It provides a control output proportional to the estimated future error. The output can be calculated using the equation: Output = Kd x (e(t) - e(t - 1)), where Kd is the derivative gain and e(t - 1) is the previous error.
- Proportional-Integral-Derivative (PID) controllers: A PID controller is a combination of all three controllers. It utilizes a constant value that correlates to the error between the setpoint and process variable.
Q3. What are some common issues with controllers?
A3. Some common issues with controllers include overshoot, noise, and instability. Overshoot occurs when the controller exceeds its desired setpoint. Noise can distort the error signal and cause fluctuations in the control output. Instability can occur if the controller parameters are not set correctly, leading to oscillations or even system failure.


 浙公网安备 33010002000092号
 浙B2-20120091-4